Re-Nu Tile and Grout Restoration Blog
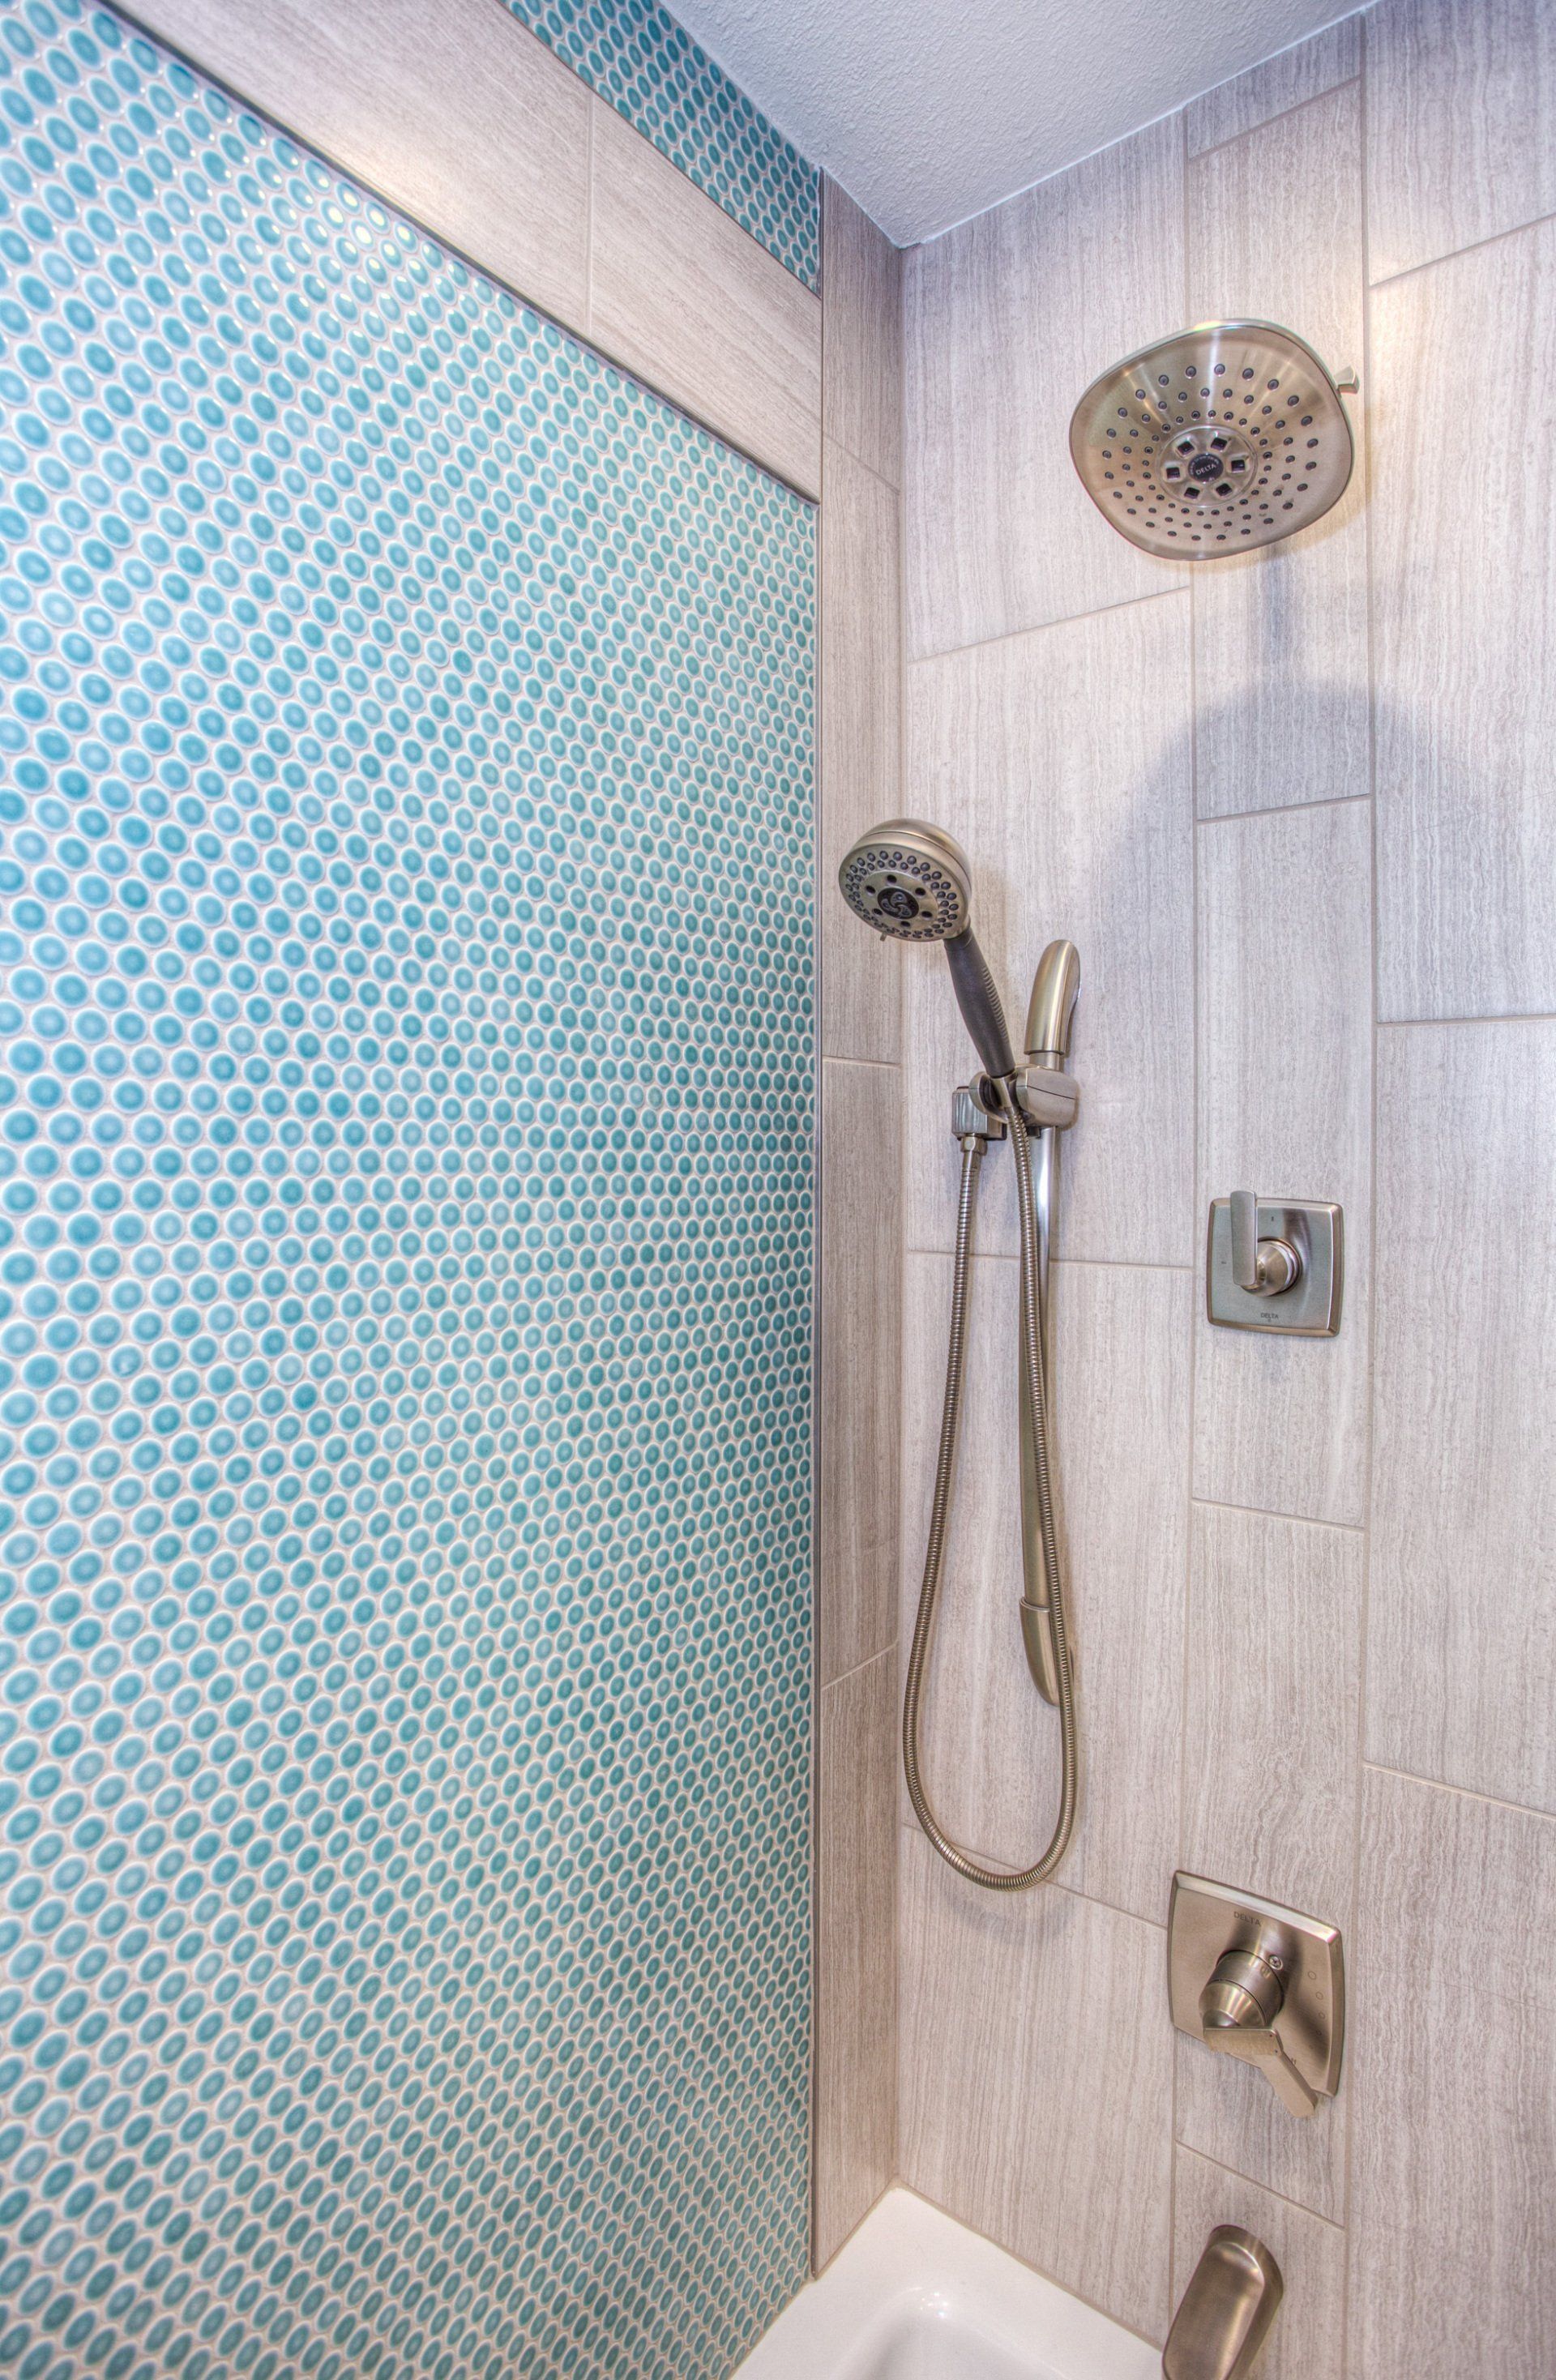
Tile Shower Repair: A Comprehensive Guide
Whether you are preparing to sell your house or simply aiming to enhance its appearance, tile shower repair is a crucial step in maintaining the aesthetics and functionality of your bathrooms. Over time, grout in shower tiles can deteriorate, leading to cracks, discoloration, or missing grout. This article serves as a detailed guide on how to effectively repair tile grout in showers, covering essential information on grout repair methods, tools needed, and common questions related to the repairing process.
Understanding Tile Grout
Grout, typically a mix of water, sand, and cement, serves the vital purpose of sealing spaces between tiles in bathrooms, kitchens, and other tiled areas1. Over time, grout can suffer from cracks, damage, or staining, necessitating repair to maintain the integrity of your tiled surfaces.
Repairing Damaged Grout
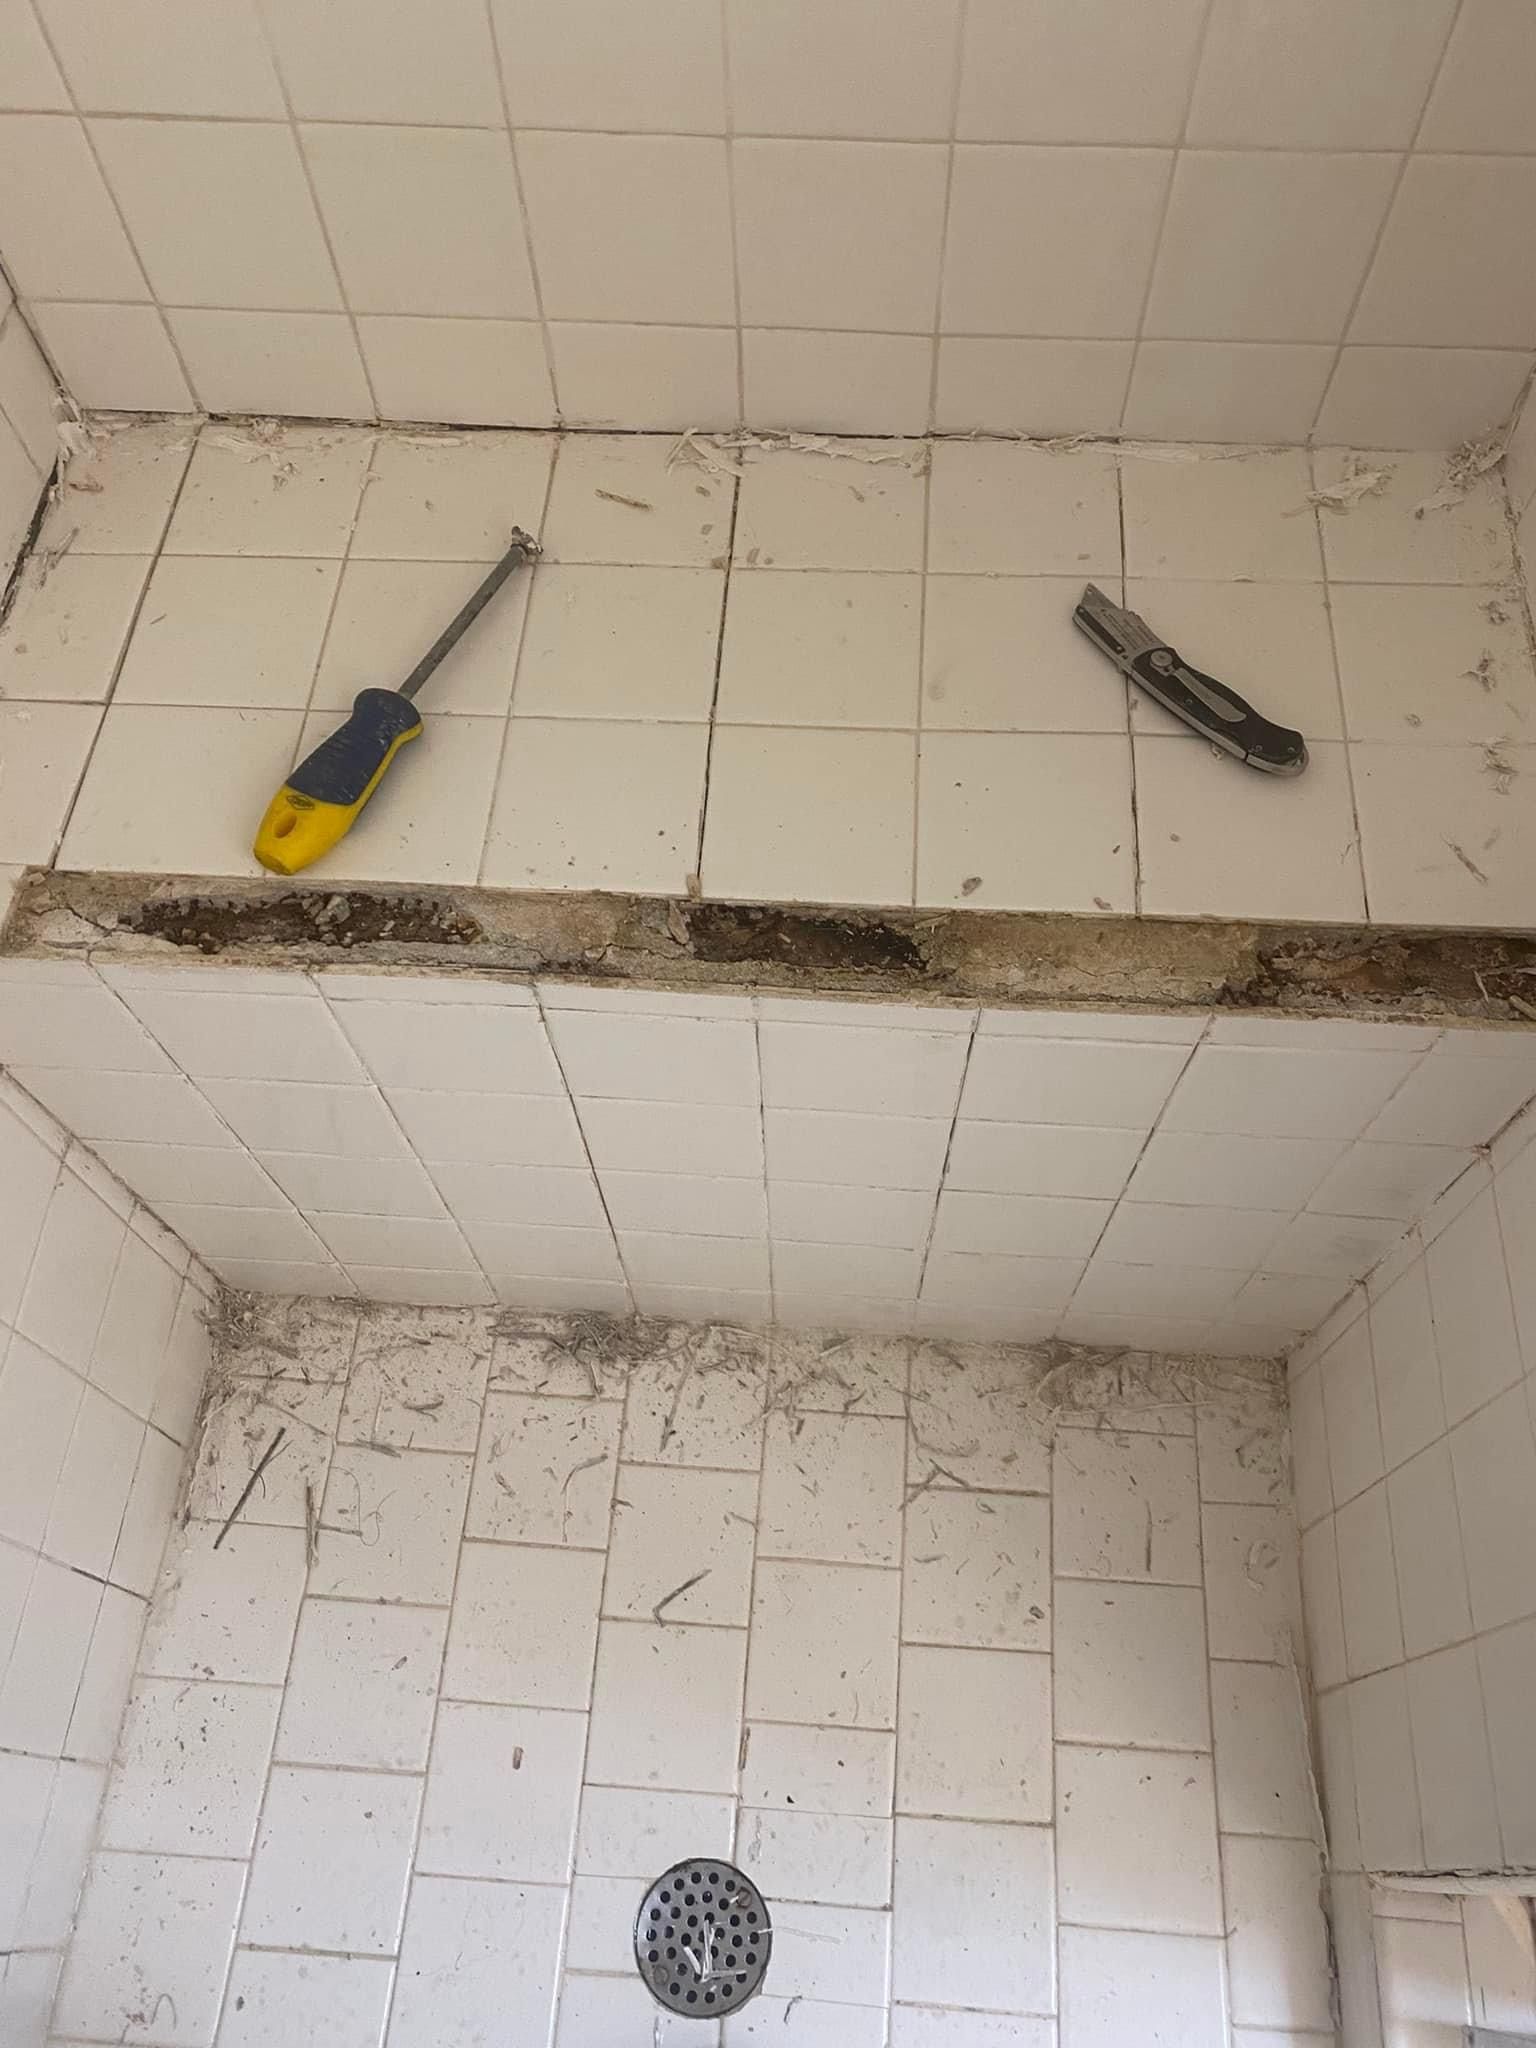
Steps to Repair Crumbling Grout:
- Remove Crumbling Grout: Use a grout saw or utility knife to carefully scrape out damaged grout without scratching the tiles.
- Mix Grout: Prepare the new grout according to the manufacturer's instructions ensuring the right consistency for application.
- Apply Grout: Fill the gaps with fresh grout using a rubber grout float or your finger, ensuring proper packing.
- Wipe Away Residue: Use a damp sponge to clean excess grout from the tile surface.
- Seal the Grout: Allow the new grout to dry completely before sealing it for protection and longevity.
Steps to Fill in Missing Grout:
- Assess and Prepare the Area: Evaluate the surrounding grout for potential repairs and prepare the surface for new grout application.
- Grind Surrounding Area: Remove a portion of the surrounding grout to create a proper base for the new grout.
- Mix New Grout: Follow the grout product instructions for mixing and application.
- Apply the Grout: Fill the missing grout areas using a grout float or your finger and compact the grout properly.
- Seal the Grout: Seal the repaired grout after it has fully dried to protect it from future damage.
Can You Put Grout on Top of Grout?
While it is possible to apply new grout over old grout, proper surface preparation is essential to ensure adhesion and prevent chipping2. Cleaning and removing loose grout before applying new grout is crucial for a successful repair.
Essential Tools for Grout Repair
To effectively repair tile grout in showers, you may need several tools, including a grout pen for water-resistant coating, a grout removal tool for grout removal, and a grout float for packing in new grout1.
In conclusion, repairing tile grout in showers is a manageable task that can significantly enhance the appearance and longevity of your tiled surfaces. By understanding the steps involved, using the right tools, and following best practices, you can achieve professional-looking results and ensure the durability of your tiled areas.
For a visual guide on repairing cracked or worn grout in a shower, you can watch this informative video: How to Repair Cracked and Worn Grout (Shower) - YouTube.
Make sure to visit your nearest hardware store, like Home Depot, for quality grout repair tools and supplies to kickstart your tile shower repair project.